When I was eight years old, I visited my oldest brother in Toronto.
It was a pretty big deal. I took the train all the way from Ottawa, we went to a Jays game and Kensington Market, sang Irish drinking songs while strolling down Bloor Street, and I bought a pair of green Umbro soccer shorts with my own money (trust me, it was a really big deal). I felt so grown up. So mature. So cool.
In the mix of amazing memories I have from that trip, one of the most vivid was meeting Evan’s roommate Alex. To me, Alex was (and still is) the epitome of cool. She played the guitar in a band. She talked to me like I was an adult. And she could sew a pair of jeans into the coolest looking “bum bag” I’d ever seen.
Alex has since become like a surrogate member of our family, becoming close friends with us all, and until recently lived just around the corner from my house. A few months ago, though, Alex moved to the East Coast. Before she left, she invited me over to raid her supply of fabric. It felt a little like Christmas morning – amazing colours and patterns, textures and sizes. I left with garbage bags full, which I’ve been slowly putting to good use with various projects.
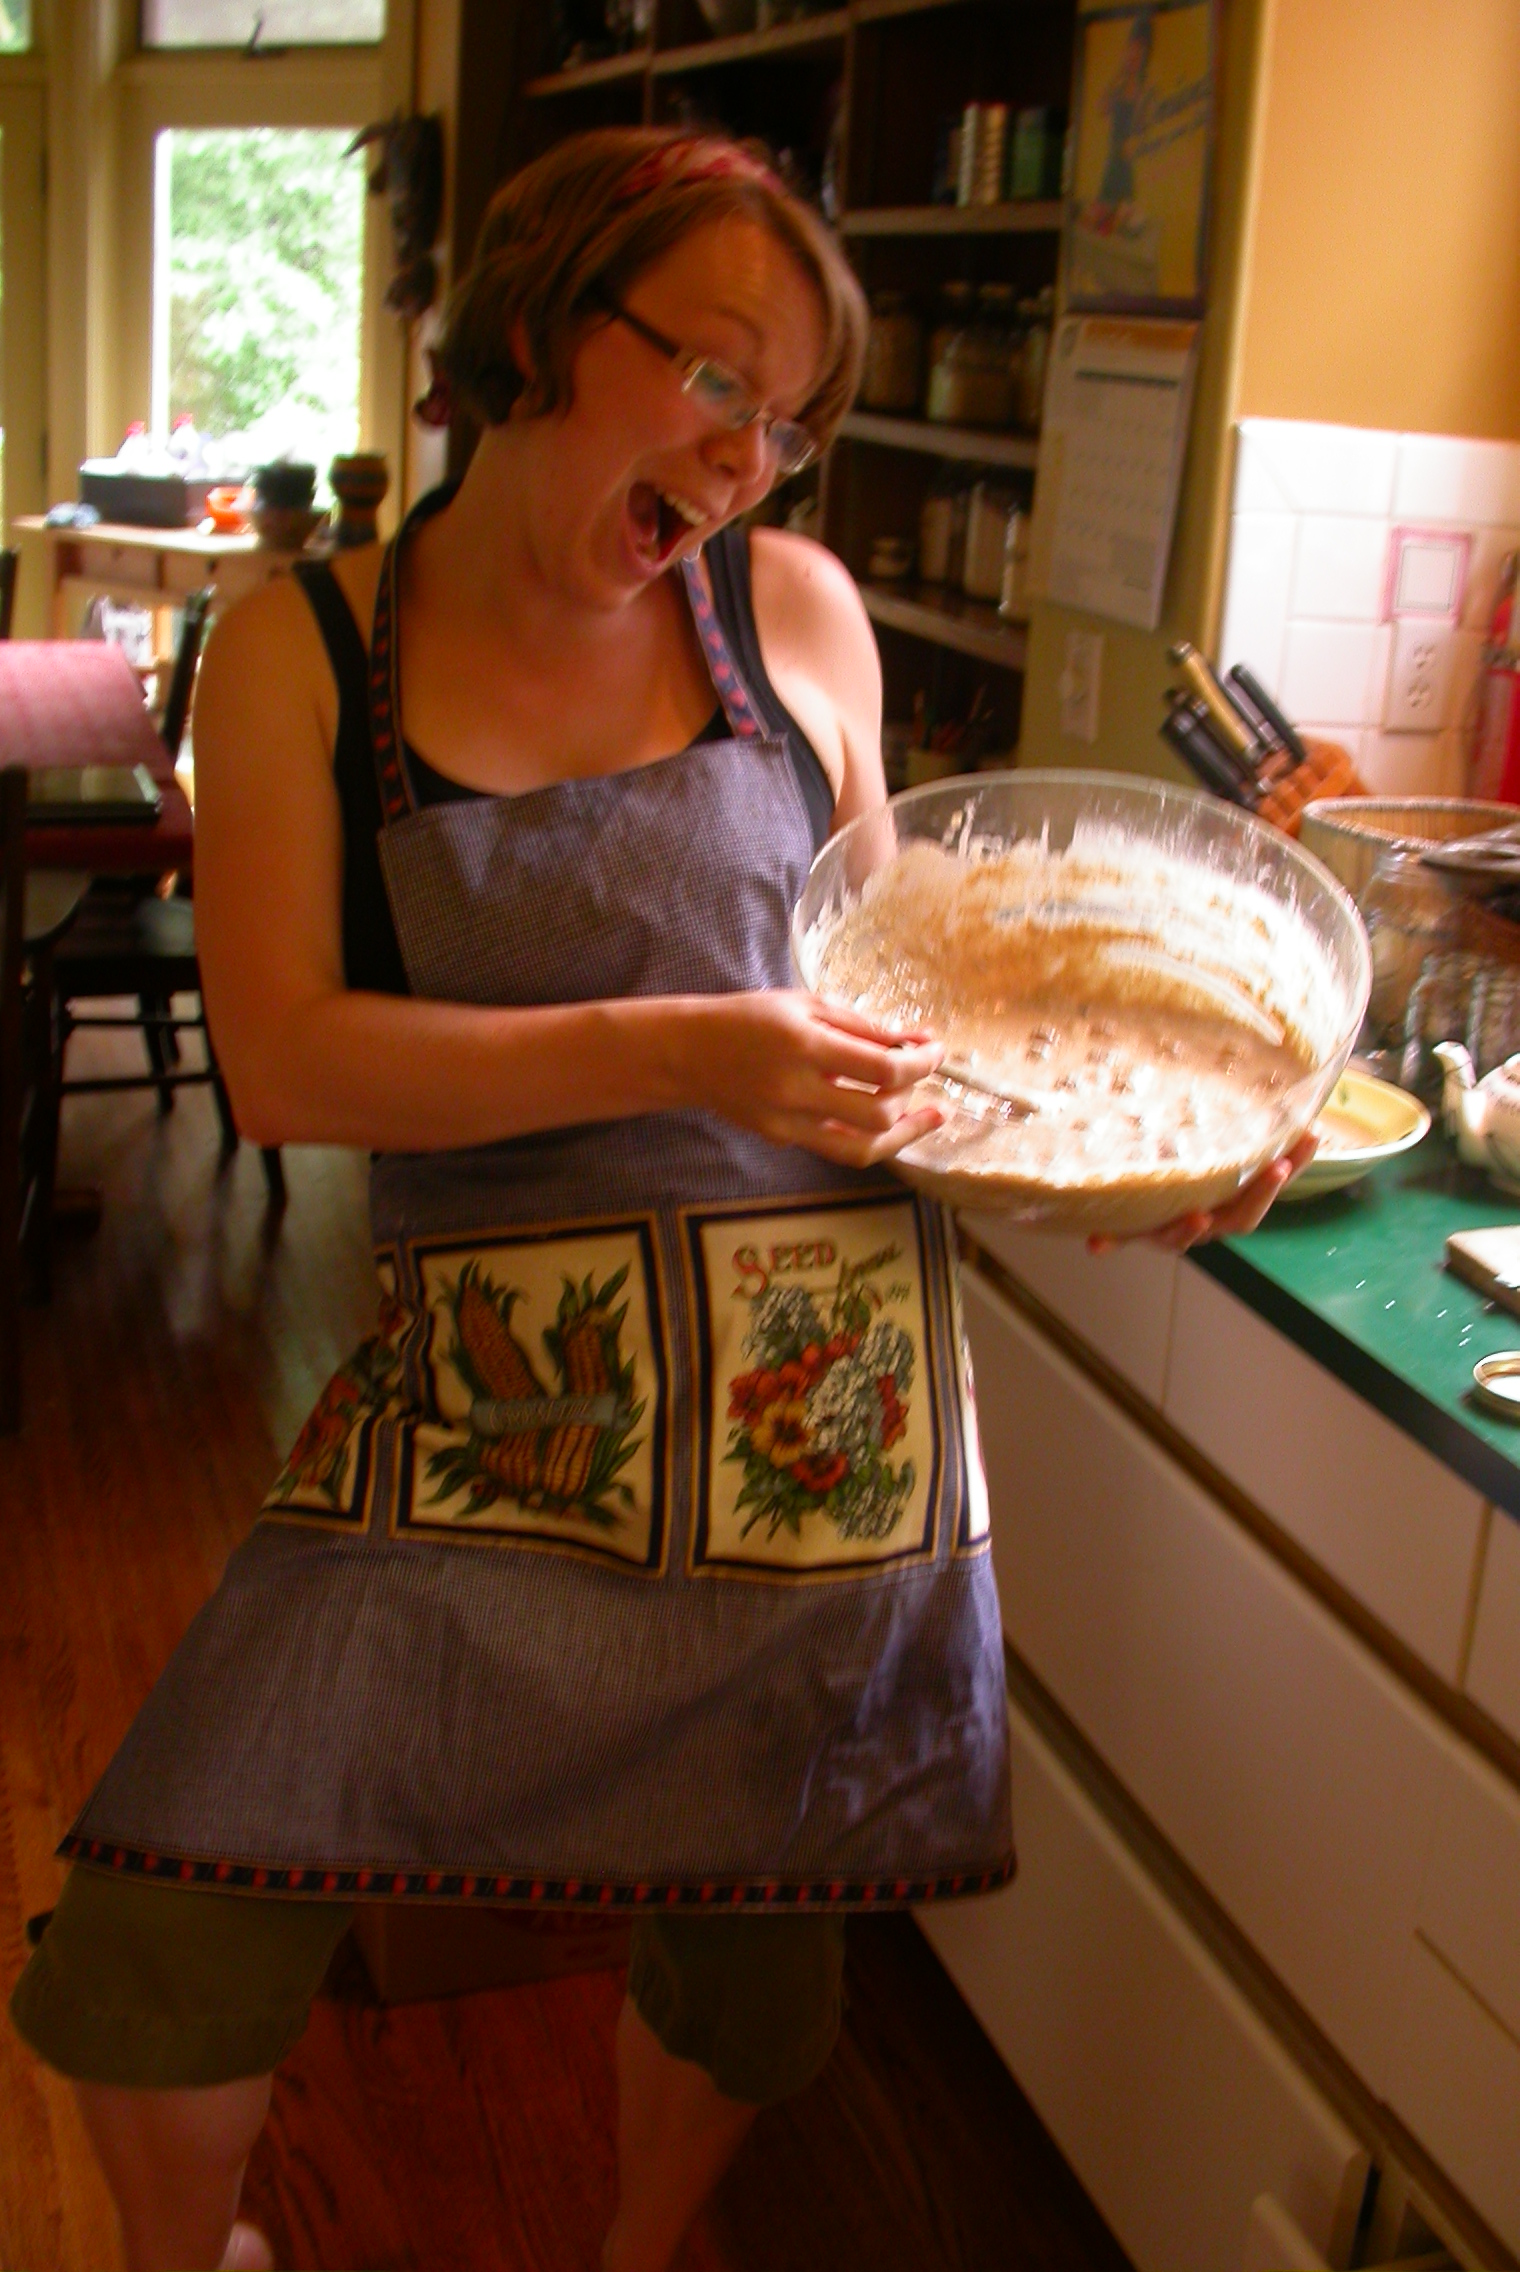
One of the gems that I came home with that night was a roll of heat-resistant batting, perfect for a pair of oven mitts. So tonight, with Alex’s latest CD playing the background, I set out to make some.
Here’s how it went…
Materials
- Cotton Fabric for the Outside
- Fabric for the Lining
- Heat-resistant batting
- A Sewing Machine
- Pencil & Scissors
- Bias Tape or Lace
- For starters, you need a pattern. I used a great one that I found online here. Alternatively, you can trace around your hand, giving an extra inch or so for sewing and ample room to fit all hand sizes. Or, try using a pair of existing oven mitts as a guide (again, leaving extra space for the seams).

- Trace and cut out: 4 cotton “outsides” (fancy patterned fabric for the outside of the mitts – 2 for the right hand, 2 for the left), 4 cotton linings (again, 2 for the right, and 2 for the left), and 4 batting middles (ditto). Depending on the thickness of the batting, and how heat-resistant you want these bad boys to be, you might want to double up and cut out eight of the batting.

- Each side of the mitts (you’ll make two tops and two bottoms) will be comprised of 3 layers – the lining, the batting (1-2 layers) and the top. Once you’ve got your pieces cut, lay each mitt-side in this order (right sides facing out) and pin the layers together all the way ’round.

- Next you want to do a quilting-like top stitch. This acts to hold all the layers tightly together. Depending on your fabric, you could choose a bold colour of thread and make a pattern, or you can do something more subtle. I decided to just meander around the material.

- Change to a zig-zag stitch and stitch around the edge of the whole mitt, cementing the three layers firmly in place. Don’t worry if your layers don’t perfectly match up – the seams will be hidden by the end.

- Repeat this whole process now for the “bottom” of your mitt (ie make a mirror-image version of the one you just made).
- When you’ve got both the top and bottom of your first mitt done, lay them on top of each other, right sides facing each other and pin around the edges.
- Using a 1/2″ seam, sew the two sides together almost all the way `round. Trim the extra away from the edges and turn right-side-out.

- Next, you want to create a nice edge along the bottom. This is where the bias tape, lace or other edge come into play. My suggestion is to use the bias tape, as you can make a little loop with it to hang your oven mitts up with. For instructions on sewing with bias tape, check out this little instructional video.
- Repeat the whole thing to make your second mitt and voila! You’re done!


I’m very touched by your post, Elizabeth. I love that we’ve had so many happy times together over many years. (You were an adorable kid on that first visit – and you’re still just as adorable now!). I knew you’d give that heap of fabric a good home. These are beautiful oven mitts (with excellent instructions, as always). xoxo, A.