For the last 8 years, I’ve been on-and-off involved with an organization called The Otesha Project. Otesha was the organization that helped first develop my social conscience. Otesha provided me with transformational life experiences (like biking across BC). And Otesha has brought some of the most amazing people into my life.

Jen V. strategizing over Carcasonne
Enter Jen V. One of these amazing people. Jen has been a co-worker, a roommate and will always be an amazing partner in crafty crime. When we lived together, we spent most of our time learning the harmonies to our indie rock favourite songs, eating popcorn, playing board games and working on crafts. Pretty much my ideal roommate situation.
This week, Jen visited Toronto, which clearly called for taking a day off dedicated to indie rock music, crafty projects and board games.
We’d now like to present to you…
How to Make Marshmallows from Scratch!
According to the ever-wise Wikipedia, marshmallows have existed as a candy since ancient Egypt, when they were made from sap extracted from marshmallow plants. This was a pretty labour intensive process, so in the 19th century, the French came up with the idea of using gelatin and corn starch as a base. Enter the era of mass produced ‘mallows, resulting in generations of roasted marshmallows, rice krispie squares and ‘smores.
Equipment
- Candy Thermometer
- 2 metal bowls
- 1 sauce pan
- 9″ x 13″ pan
- waxed paper
- rubber spatula
- measuring cups
- scissors
Ingredients
- 1/2 cup cold water (add ice cubes for a few minutes to make it extra cold!)

- 3 envelopes (~3 Tbsp) unflavored gelatin
- 2/3 cup corn syrup
- 2 cups white sugar
- 1/4 cup water
- 1/4 tsp salt
- 1 – 2 Tbsp vanilla extract or other flavorings (we did 1 Tbsp vanilla, 1 Tbsp peppermint flavour!)
- 2 cups powdered sugar
- Corn flour / Cornstarch
- Icing sugar
- Food colouring (if you want)

How to do it!
- Start by prepping your pan. It’s way easier to cut the marshmallows at the end if you line the pan with something like plastic

The Prepped Pan!
wrap or waxed paper. Then grease the lining with a wee bit o’ oil. Finally, mix together about 1 cup of cornstarch and icing sugar (1/2 cup of each) and lightly sprinkle your pan with the mixture.
- Get your water nice and cold (add ice cubes if necessary). Put the gelatin into a metal bowl and then add 1/2 cup of water. It will start to “blossom”. Set it aside for about 10 minutes to let it react.
- In your saucepan, mix together 2 cups white sugar, 1/4 cup water and 2/3 cup corn syrup. Bring

Jen watching the thermometer
this to a boil. Using your candy thermometer, keep it boiling until the mixture reaches 117C / 224 F. Make sure the thermometer is submerged in the candy, but not touching the bottom of the pan. We got really intense about this part. Once it hits 117C, remove the pan from the heat.
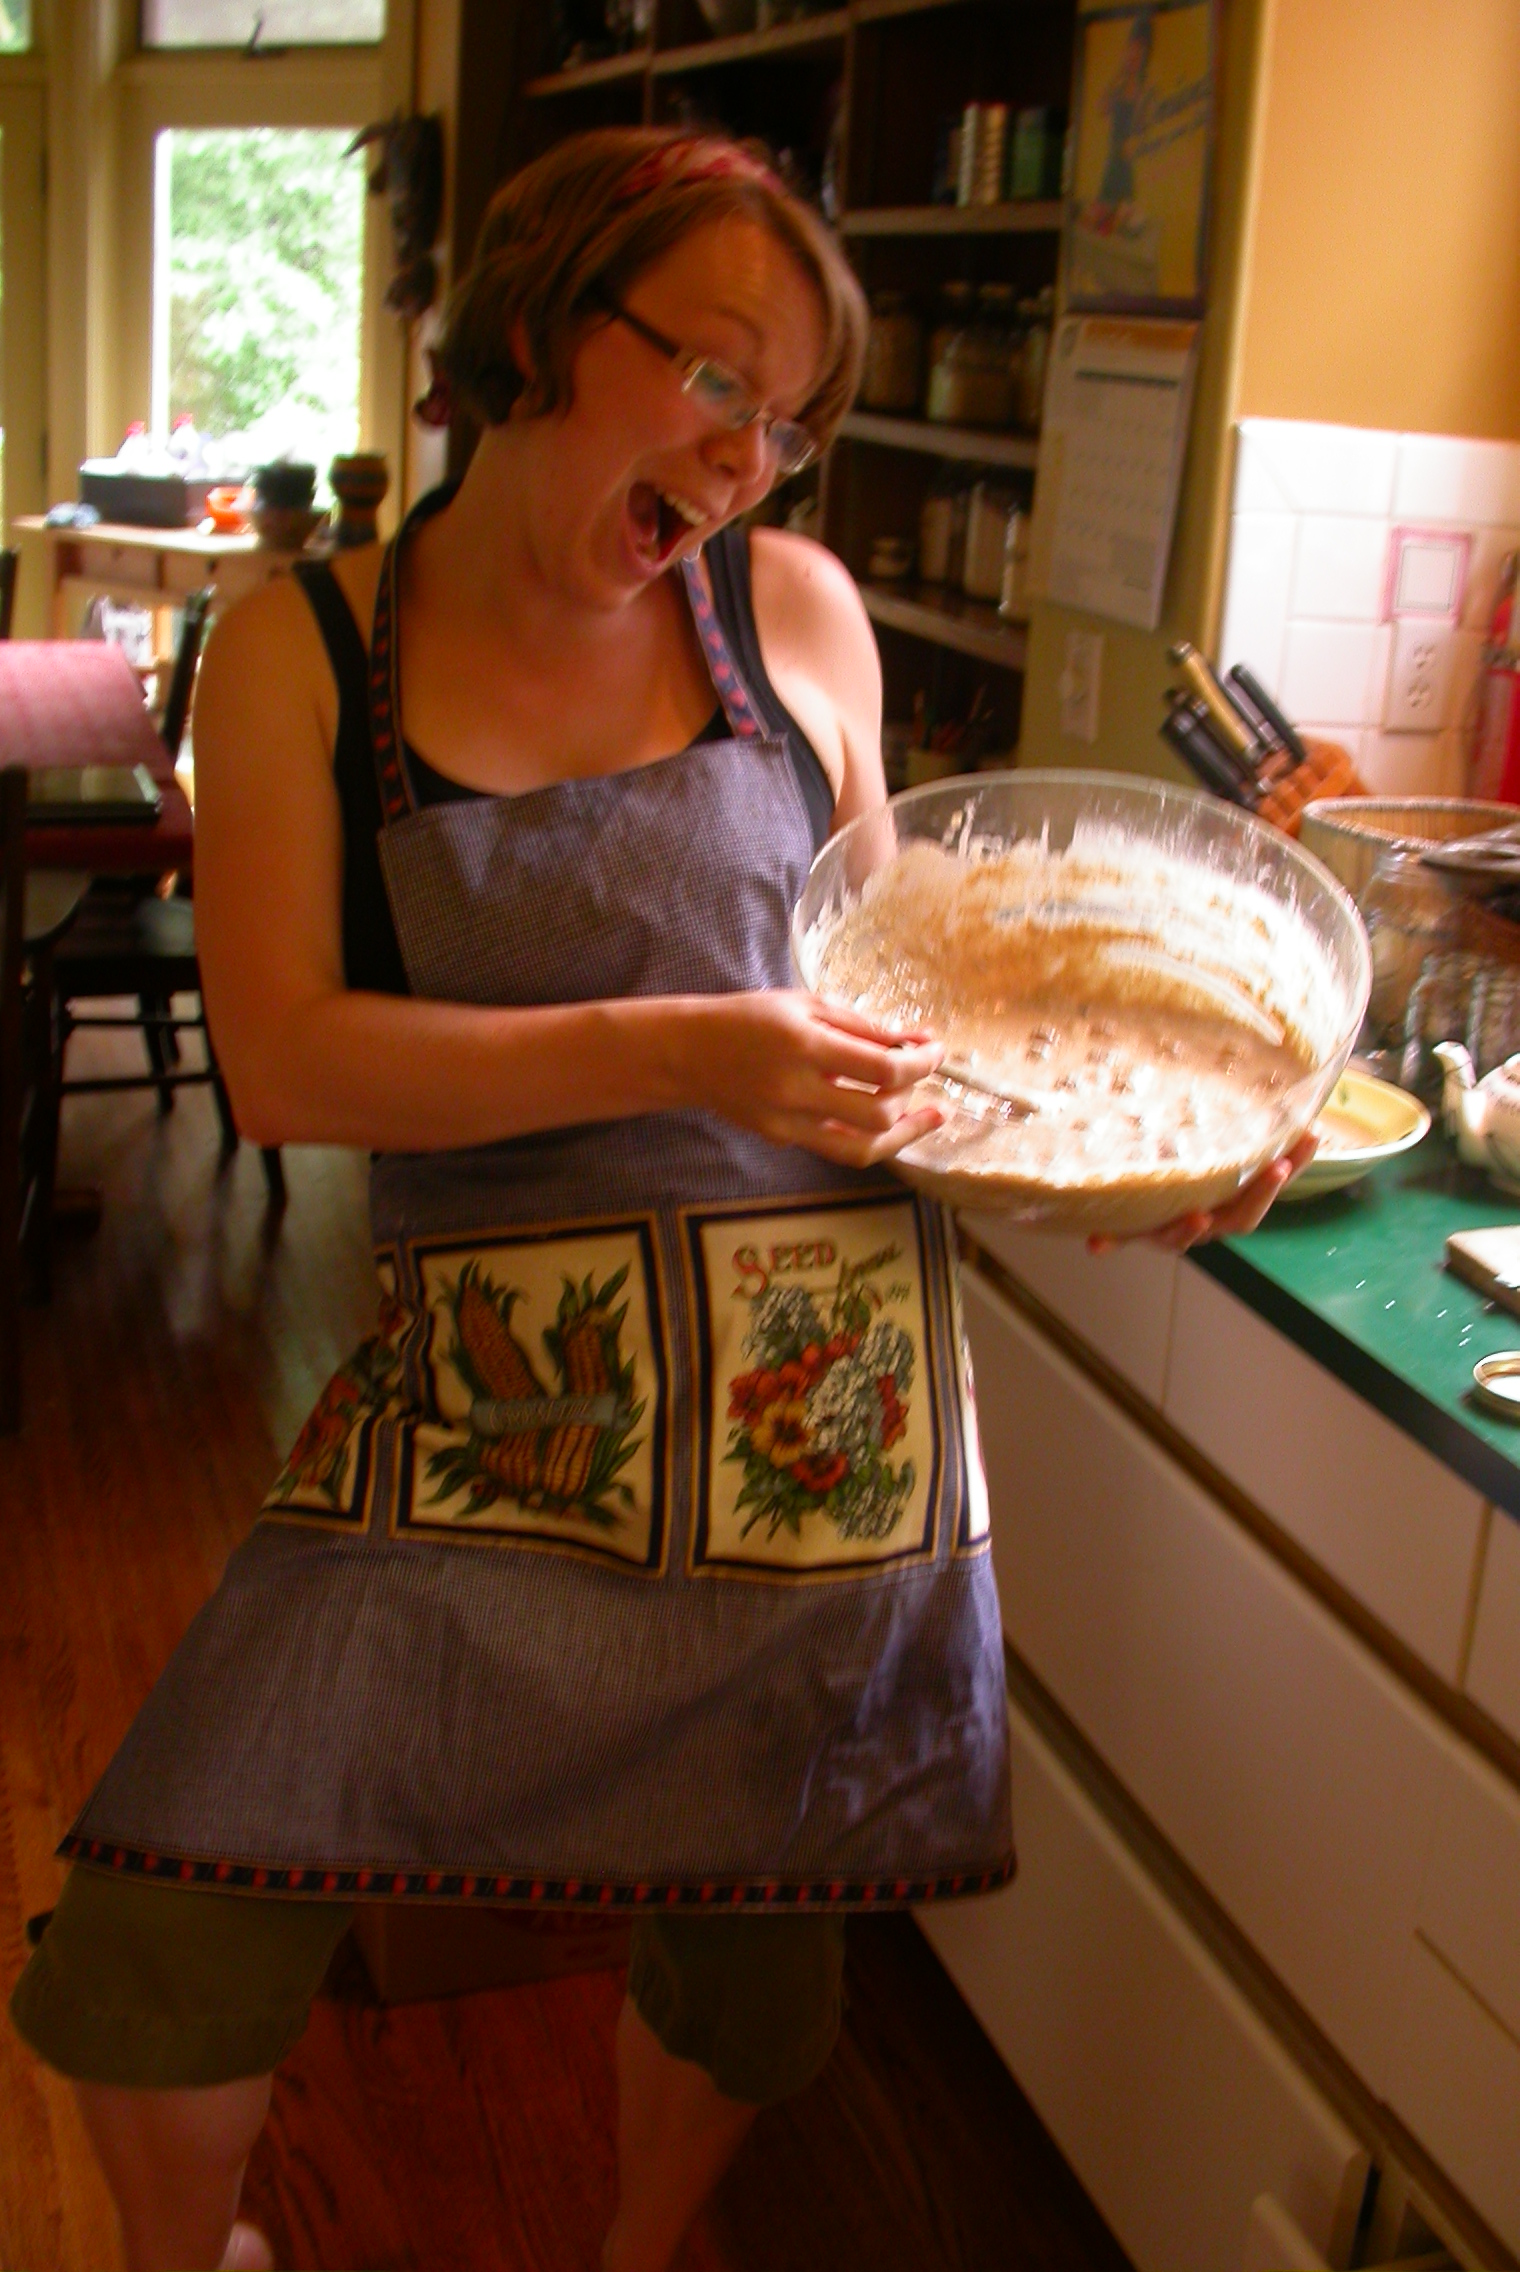
- Add the warm mixture to the “blossomed” gelatin and start mixing like crazy. If you’ve got an electric beater, you can wimp out and
 use it. If you’re hardcore like Jen and I, you’ll whisk it by hand. By the end, you’ll have huge arm muscles like this.
 - Mix for 15 minutes, adding 1/4 tsp salt as you go. Towards the end add your flavouring and (if you choose to) colouring. The mixture should be quite thick and gooey at the end.
- Spread the mixture into your already prepared baking pan and dust the top with the icing sugar/corn starch combo.
- Then, put it aside and let the pan sit for 4 hours to set.
- While you’re waiting, go to Snakes and Lattes and play your favourite board games. We went for Wasabi and Carcasonne. And,

Cutting the 'mallows!
you know, to be humble, I’d just like to point out that I won both.
- Come back and lift your marshmallows out of the pan. Cut ’em up, dust all sides with more cornstarch/icing sugar and enjoy!


This was a totally surprising activity. Totally fun. Totally easy. And the final product is super yummy.
… now we just have to wait for summer time to try roasting them!
Thanks to the ever wonderful Jen V. for the inspiration and hilarity.